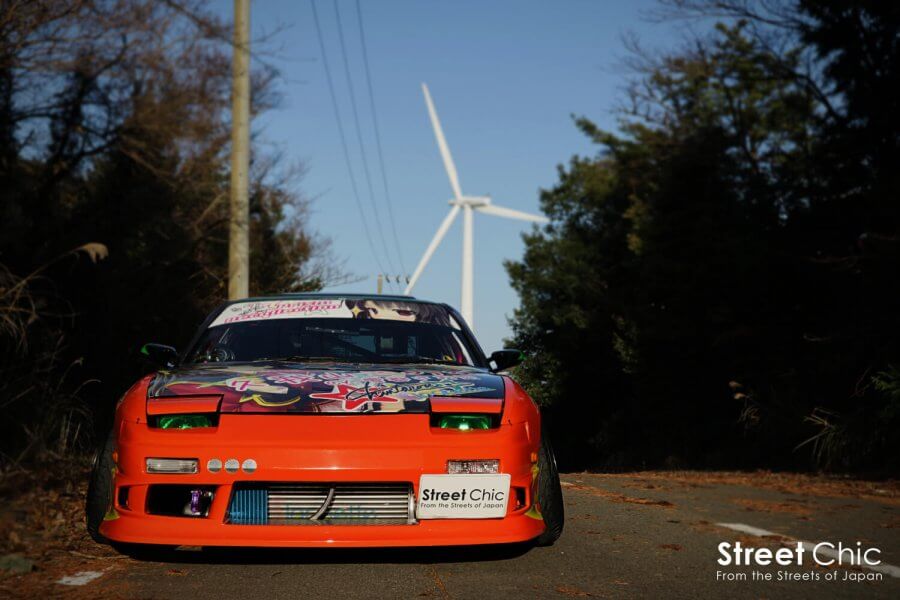
How I Painted My Nissan 180SX At SELFIT [Day 2]
Previous: How I Painted My Nissan 180SX At SELFIT [Day 1]
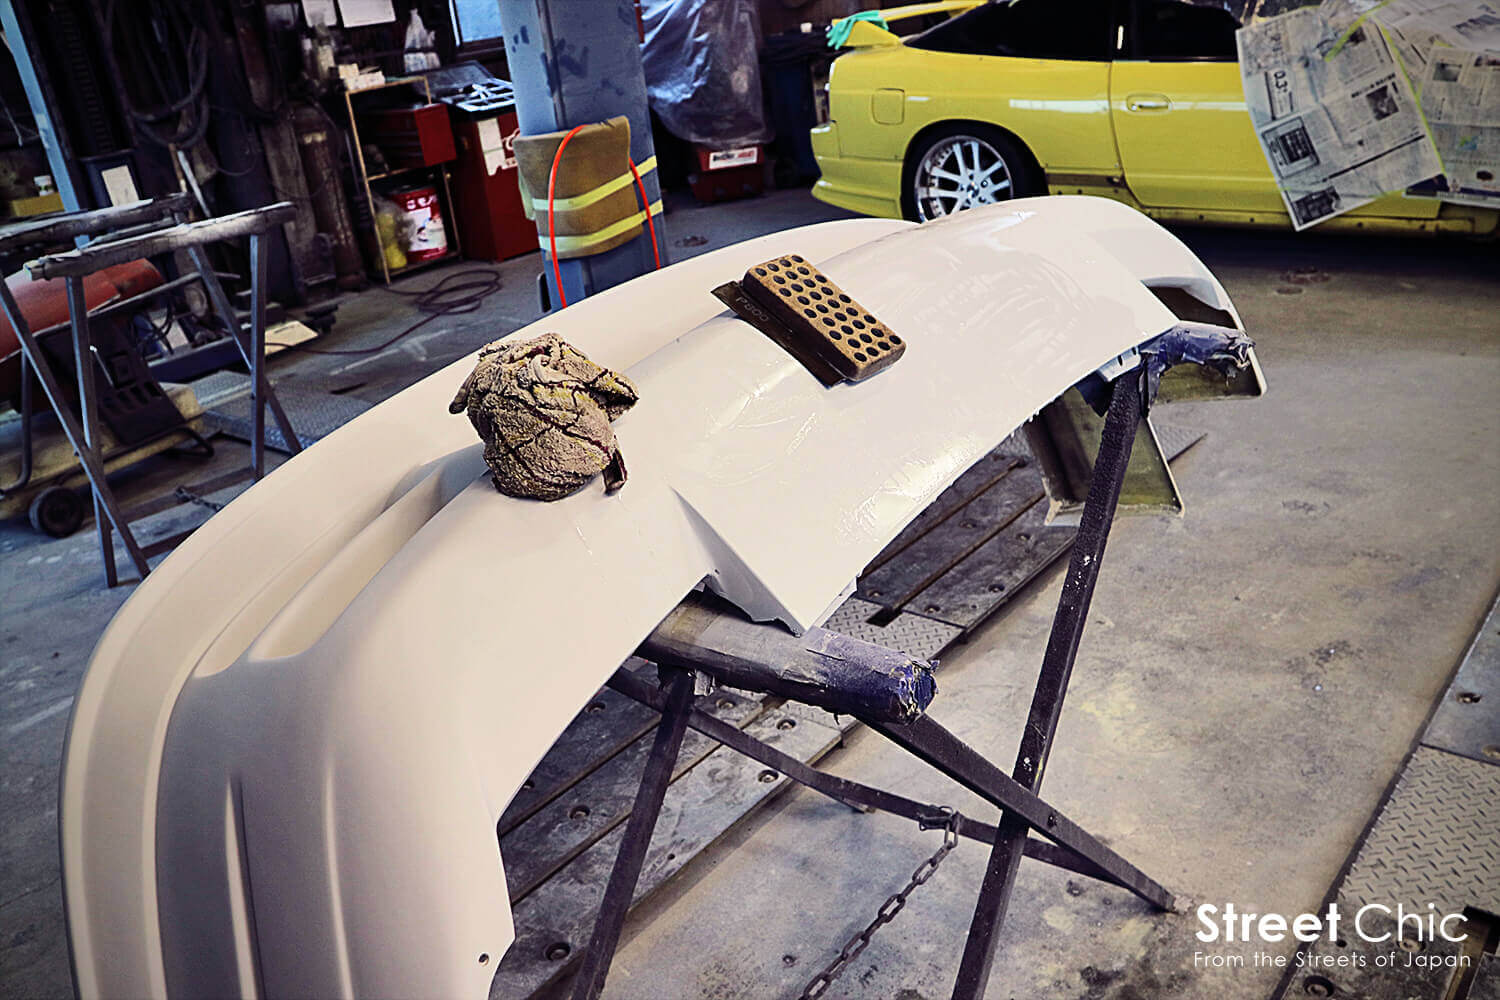
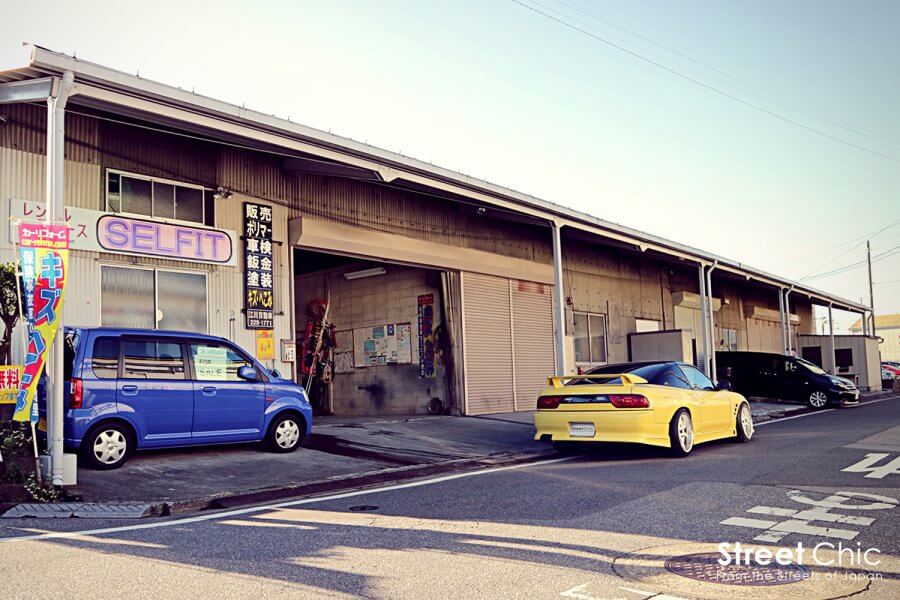
I was able to arrive at SELFIT in Saitama by 9AM on day 2. It was even colder than the day before which made me think to myself, “I should do this during summer.” I continued where I left off and started sanding the bumper, fenders, hood and headlight covers that I primed, with sandpaper (P400).
I didn’t plan on painting the headlight covers but while I was sanding the hood, I accidentally sanded the covers as well, so I decided to paint them also. By the way, the sanding can be done with a sander, but you can get better results by hand, so I sanded everything by hand except the headlight covers.
Sanding the primer surfacer can be a little bit difficult because if you apply to much force, the surfacer might come off. It is a very delicate procedure.
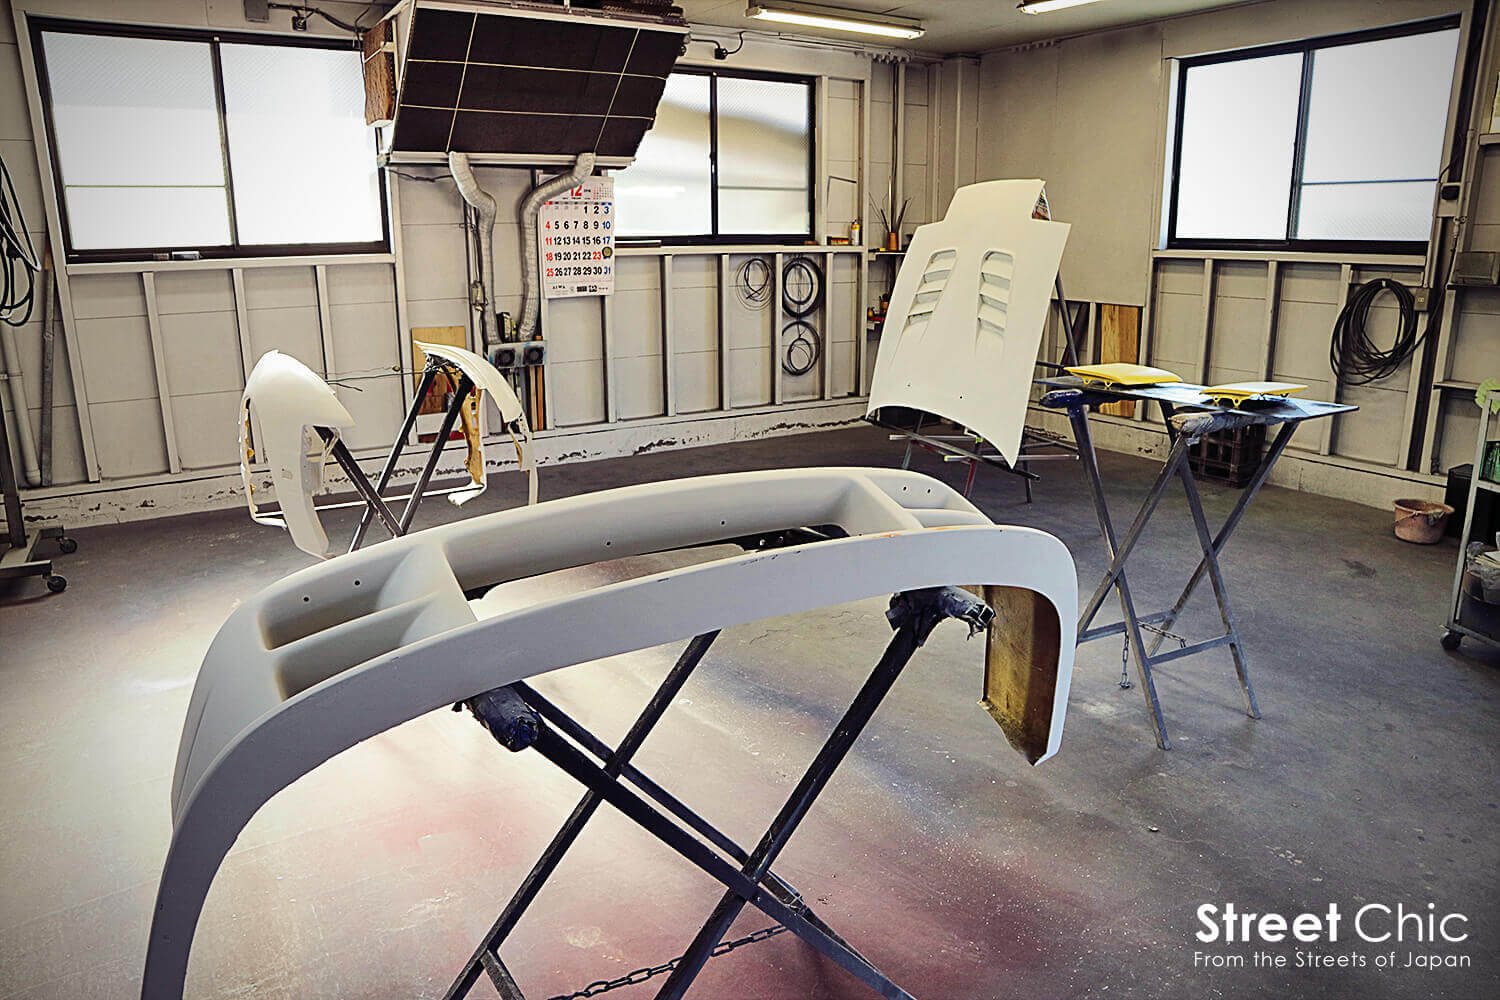
After I was done sanding, I went over to the painting room. When I got started in the painting process, it was already 1PM. The owner of SELFIT, Mr. Egawa told me that painting the whole car usually takes around three days. I wasn’t painting the whole car, so I definitely wanted to get it done in two days. But of course, hurrying is not a good thing if you want to make it look nice.
And now, we paint
Finally, I started what I came here to do in the first place: paint. It took a long time to get here, considering how much effort went in to the preparation and priming procedures. No matter how the car ends up looking, this is shaping up to be a memorable experience. I held the spray gun and gestured as if I was spraying to visualize in my head what I was about to spray.
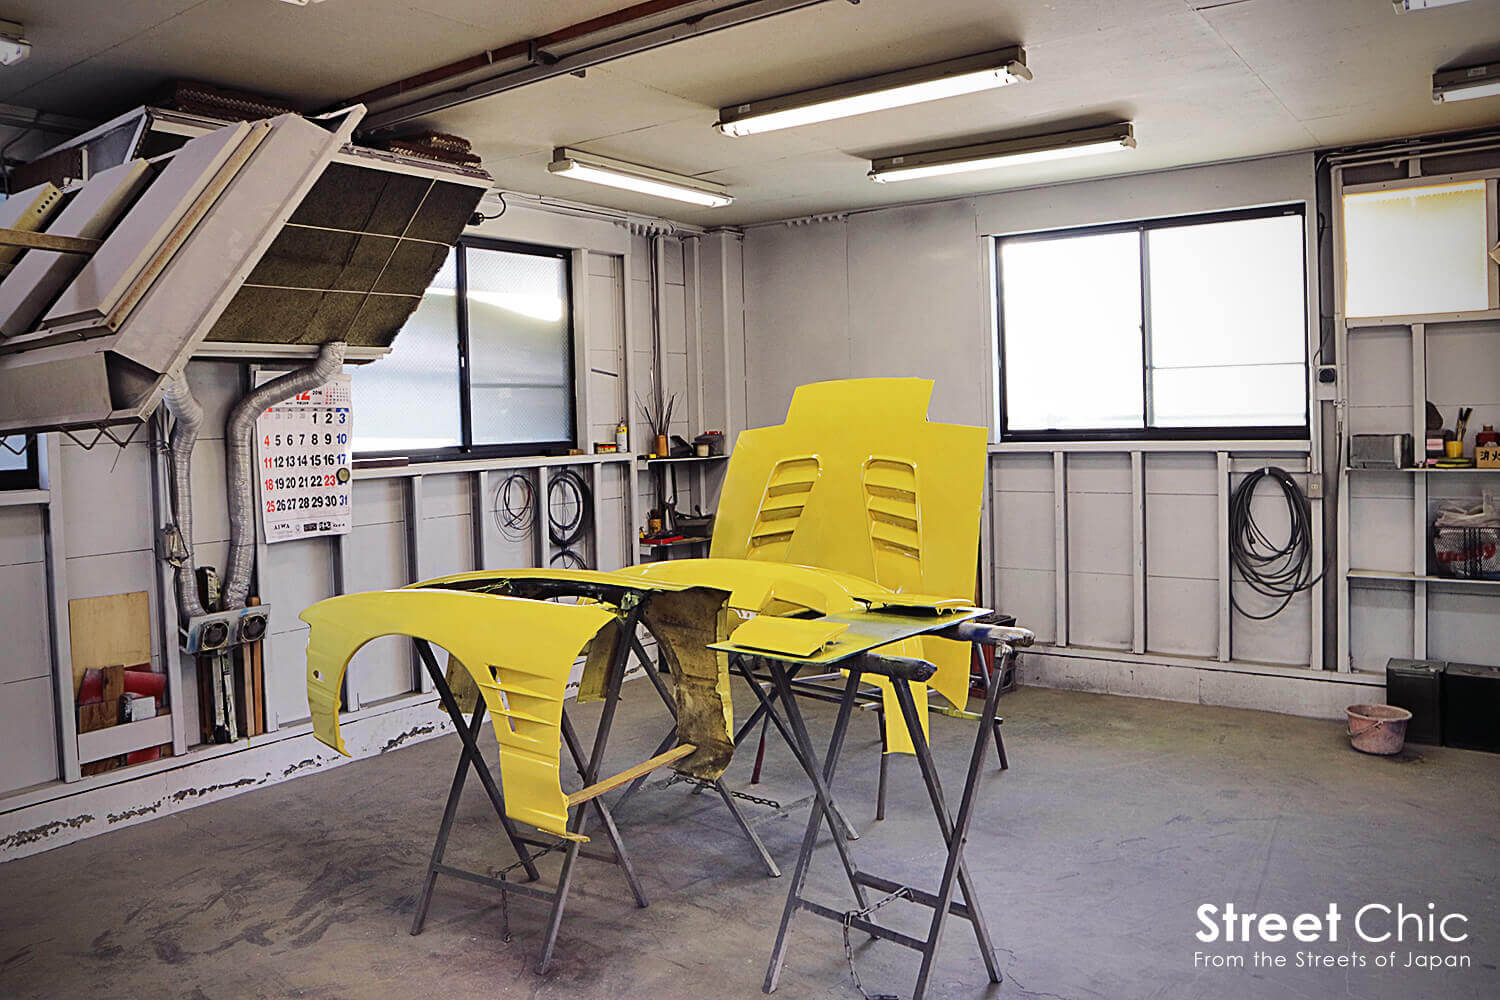
First, I began by spraying the inner surface of the bumper as practice. As is the case with the primer surfacer, the best way to do it is spraying in three thin coats. It’s a common mistake to spray a lot to get that sheen but it’s important not to overspray or it’ll drip. Spray a little, then move on to the next area, and so on. At SELFIT, Mr. Egawa will help you achieve the sheen you want.
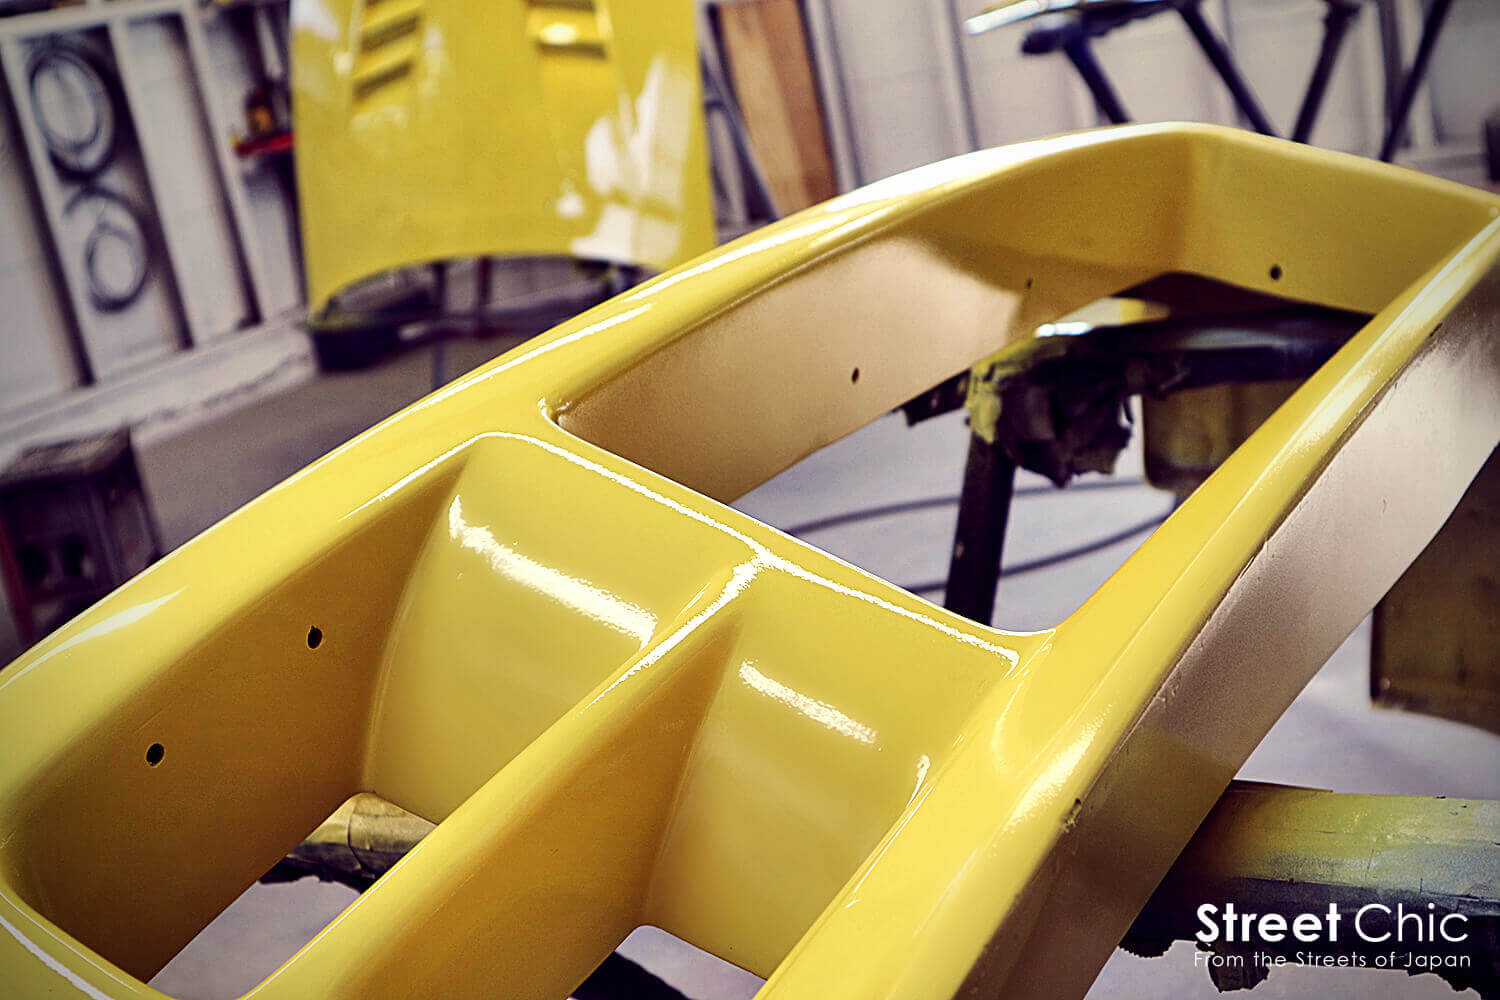
Finish it with clear coat
Finally, we add finishing touches by coating the painted surface with clear coat. This can be easier said than done, as spraying too much can cause dripping. Also, its clearness makes it hard to visually tell where and how much you’ve sprayed. But this process is also very important because if you forget your clear coat, the paint can easily be faded or discolored, and in some cases chip and crack. The clear coating strengthens your paint job.
I’m talking like I know everything about painting and coating, but the truth is, I ended up with a lot of dripping. I should’ve listened to the owner and tried to spray evenly in thin coats, little by little, but I rushed.
The owner took over from there, and he put the finishing touches. He definitely made it look professional.
Bask in the feeling of accomplishment
It would be best to let the paint cure for another day, but I had to finish it, so I force-dried it by using a big dryer. But even then it’s not completely dried, so I had to be careful not to leave too many fingerprints as I was putting the parts back together.
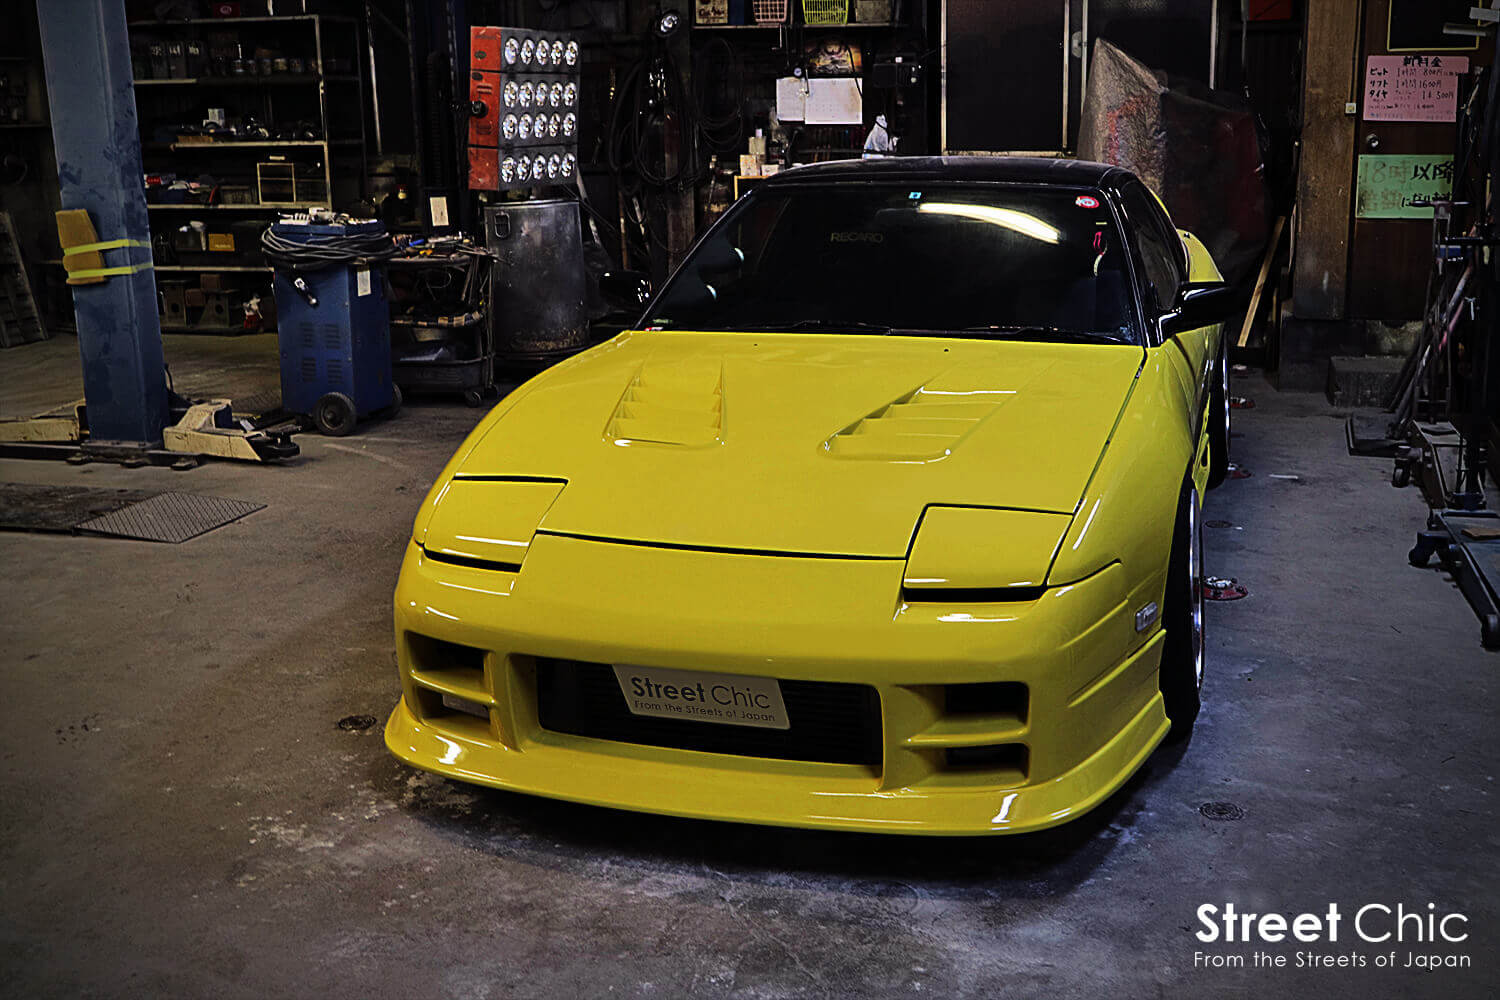
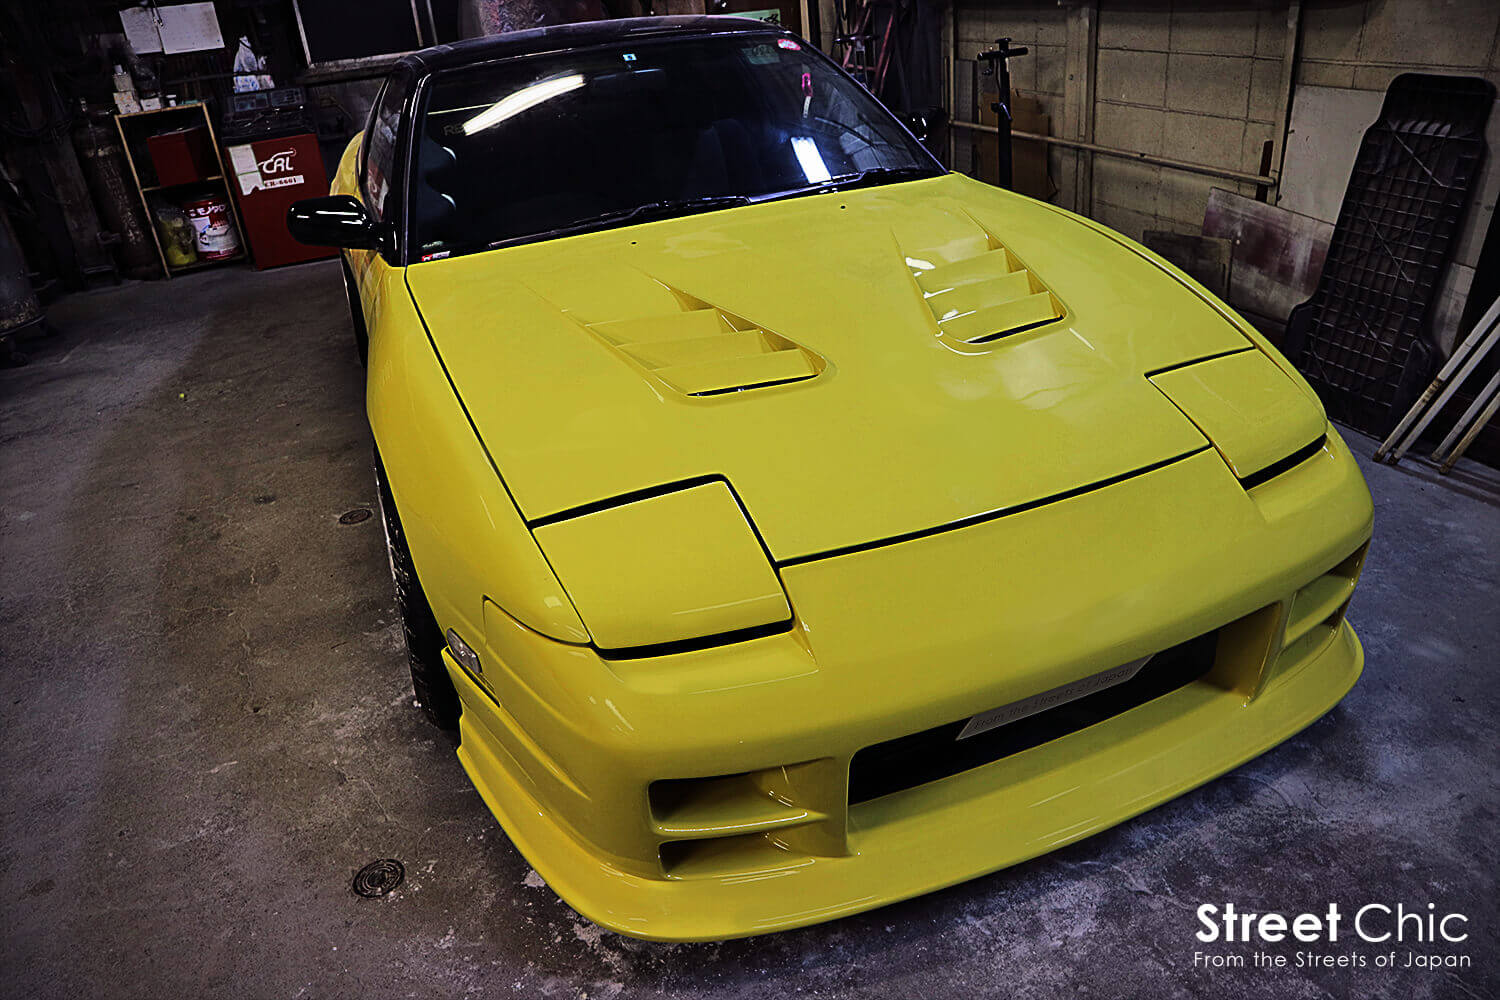
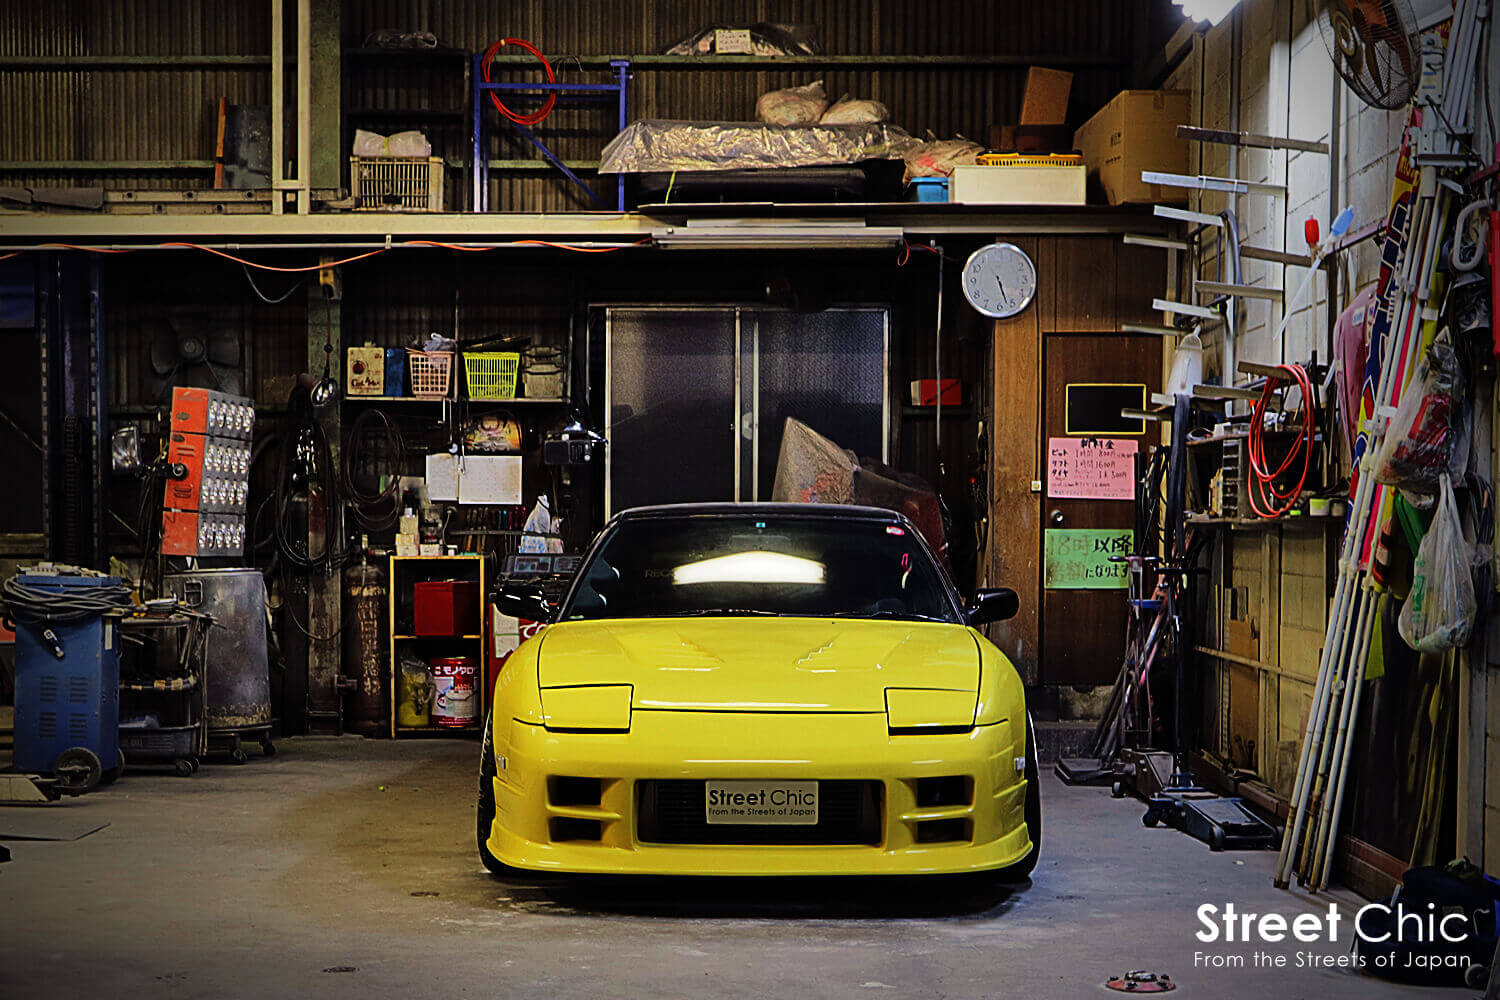
I cannot describe in words the sense of accomplishment and satisfaction. I was worried that the surface won’t be as smooth as I wished, but it turned out fine. There are some cracks that I couldn’t completely fill though, so I guess I should’ve spent a little more time and attention to filling those small cracks.
Mr. Egawa says that once in a while, people come in and paint their cars so exceptionally well that the cars look professionally done. One thing he notices about these guys is that they all take time making sure the preparation and priming is really good. I think I got the surface to look pretty smooth for somebody that haven’t done it before, but of course it could have been done better. When you do your own paint job, everything, including the cost and how good the outcome is, depends on you.
If you need your paint job looking perfect, it might be better to take it to a pro. But when you think about the money you save, as well as the skills you gain from it, painting your car yourself can be a priceless experience.
| Cost for Day 2 |
|---|
| 38,630 yen (w/tax) Includes: garage usage, sandpaper, paint and dryer fees |
| Total cost |
| 55,750円 yen (w/tax) |
![How I Painted My Nissan 180SX At SELFIT [Day 1]](https://en.streetchic.jp/wp-content/uploads/2017/01/self-paint1-900x600.jpg)
![Tokyo Auto Salon 2017 Report [Part 2]](https://en.streetchic.jp/wp-content/uploads/2017/01/IMG_0460-01-900x600.jpg)
![Tokyo Auto Salon 2017 Report [Part 1]](https://en.streetchic.jp/wp-content/uploads/2017/01/IMG_0373-01-900x600.jpg)
Comments