How I Painted My Nissan 180SX At SELFIT [Day 1]
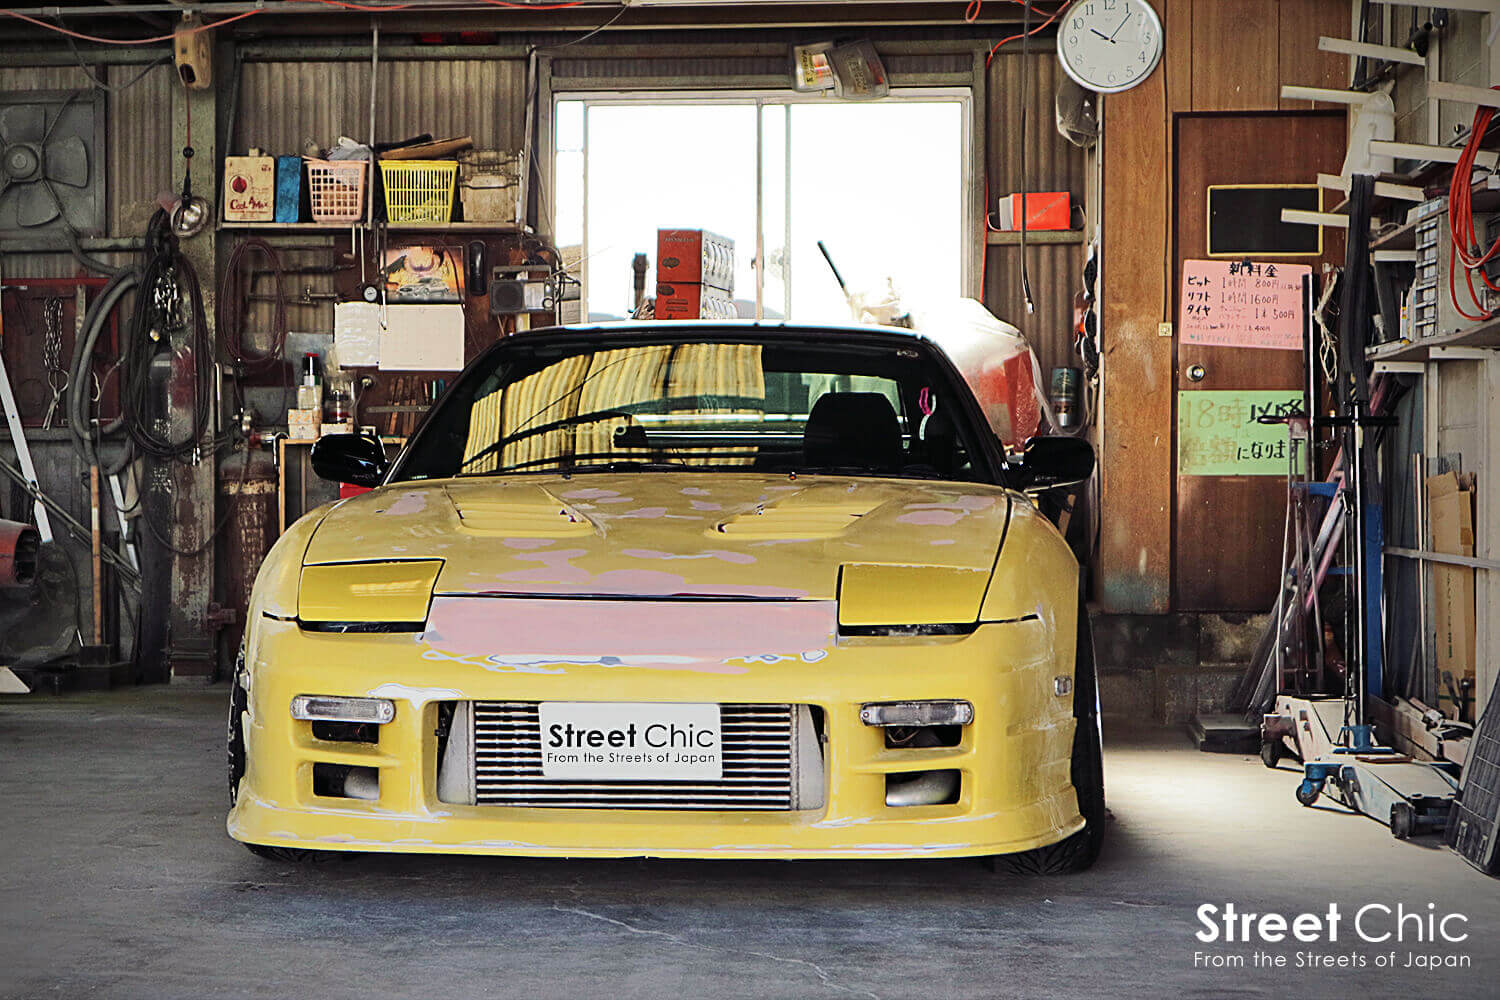
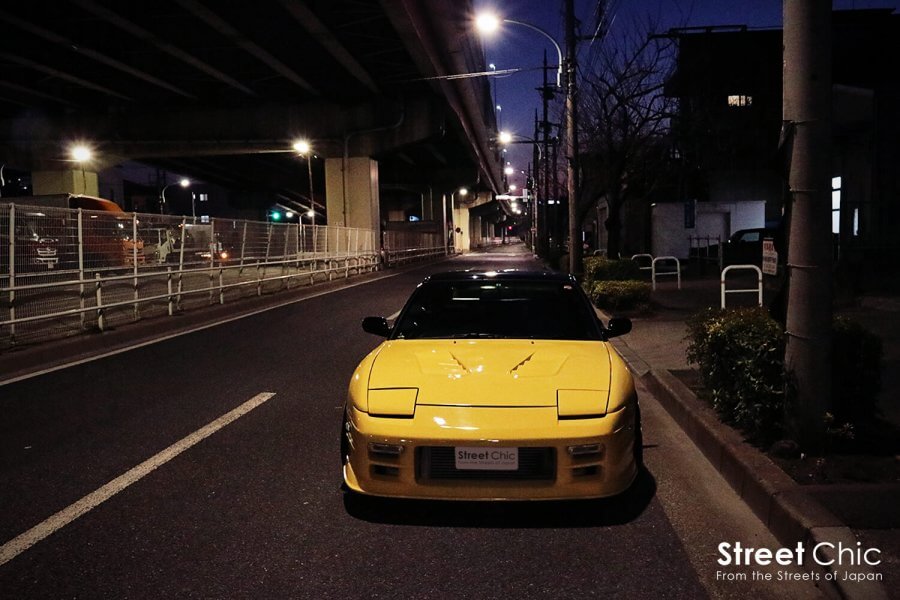
My Nissan 180SX(known as 240SX in North America)’s paint job has been suffering from a bit of discoloration and deterioration as of late, and I was thinking about repainting it. But taking your car to get a paint job done can be expensive.
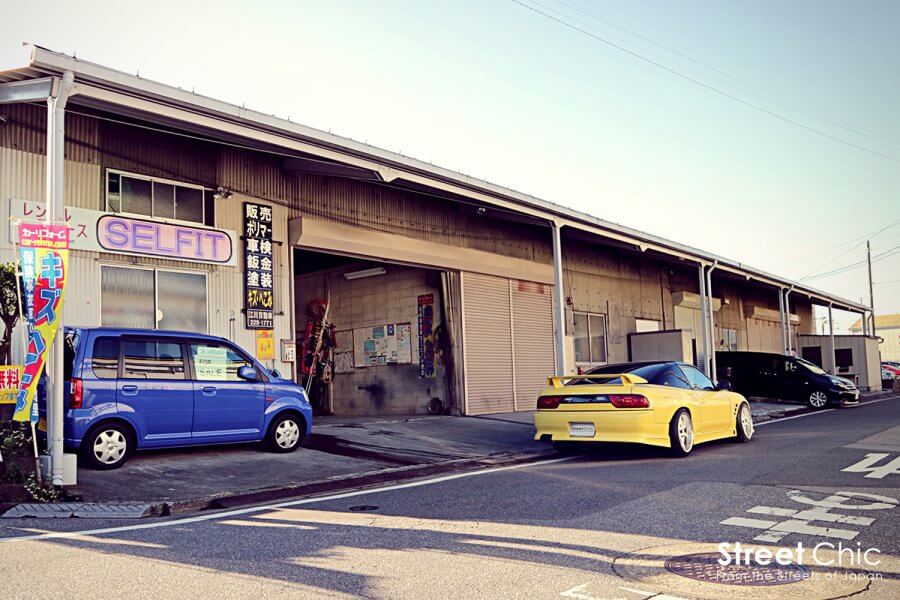
SELFIT in Kawaguchi, Saitama is a garage for drivers who want to paint their cars on their own. We outlined what this shop is about in this article. It’s a perfect spot for people like me who want to DIY it and keep the cost to a minimum.
Prepare the body for painting
Painting a car can be broken down to two major steps: preparing the body for painting and the actual painting. I had some preparatory bodywork done already before I took the car in. The preparation involved sanding down the hood, two front fenders and the bumper with sandpaper (P600, P800) and filling holes and dents with putty.
The bumper had a big air intake vent but I decided to fill it with FRP and several types of putty to smooth it out (the pink area in the photo above). As I am still an amateur when it comes to this it was a sloppy job, but after I arrived at the shop, the owner of SELFIT, Mr. Egawa gave me pointers on how to improve it and helped me get it to the point where it wasn’t embarrassing to look at.
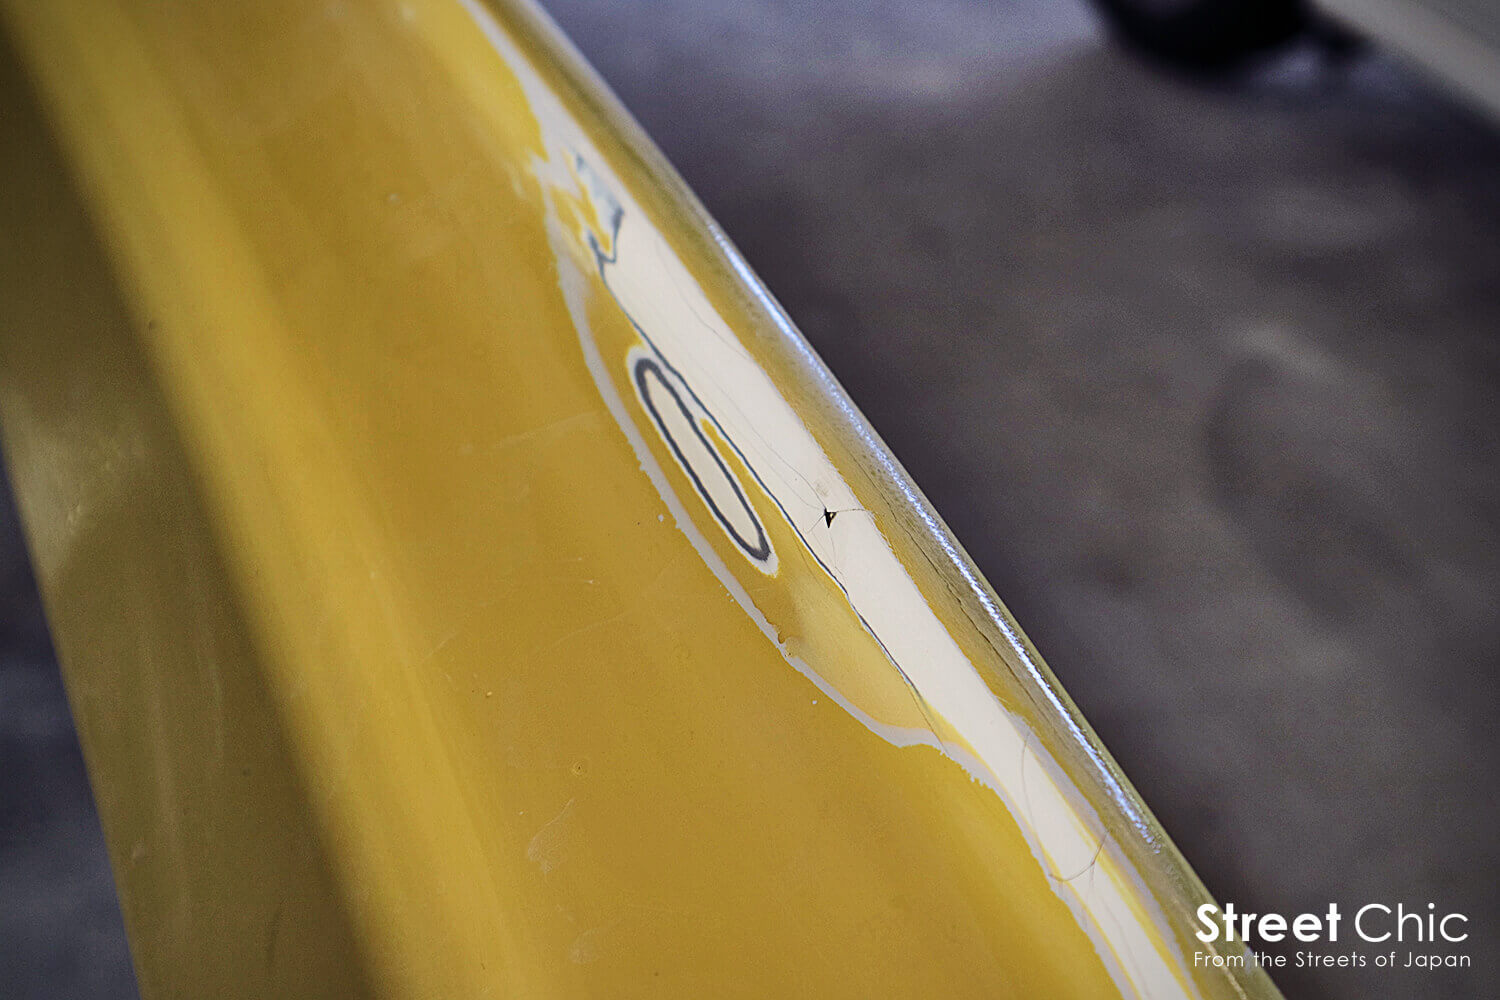
The biggest problem I had with the FRP body kit was the cracking. Sometimes you can mend this by sanding the paint, but if the FRP itself is cracked, you could also pour in FRP composite and fill the cracks. But that method is kind of complex. So I decided to fill it with polyester putty.
Preparatory bodywork like this can be done at the shop, but I decided to do a lot of it myself at home to learn before I brought the car in. I had sanded the edge of the curved line of the bumper a little too much, but the owner helped me recreate the line. I also had bumpy areas on the hood where I sanded too much, and he helped me apply putty there to smooth it out.
Make sure to start early in the morning
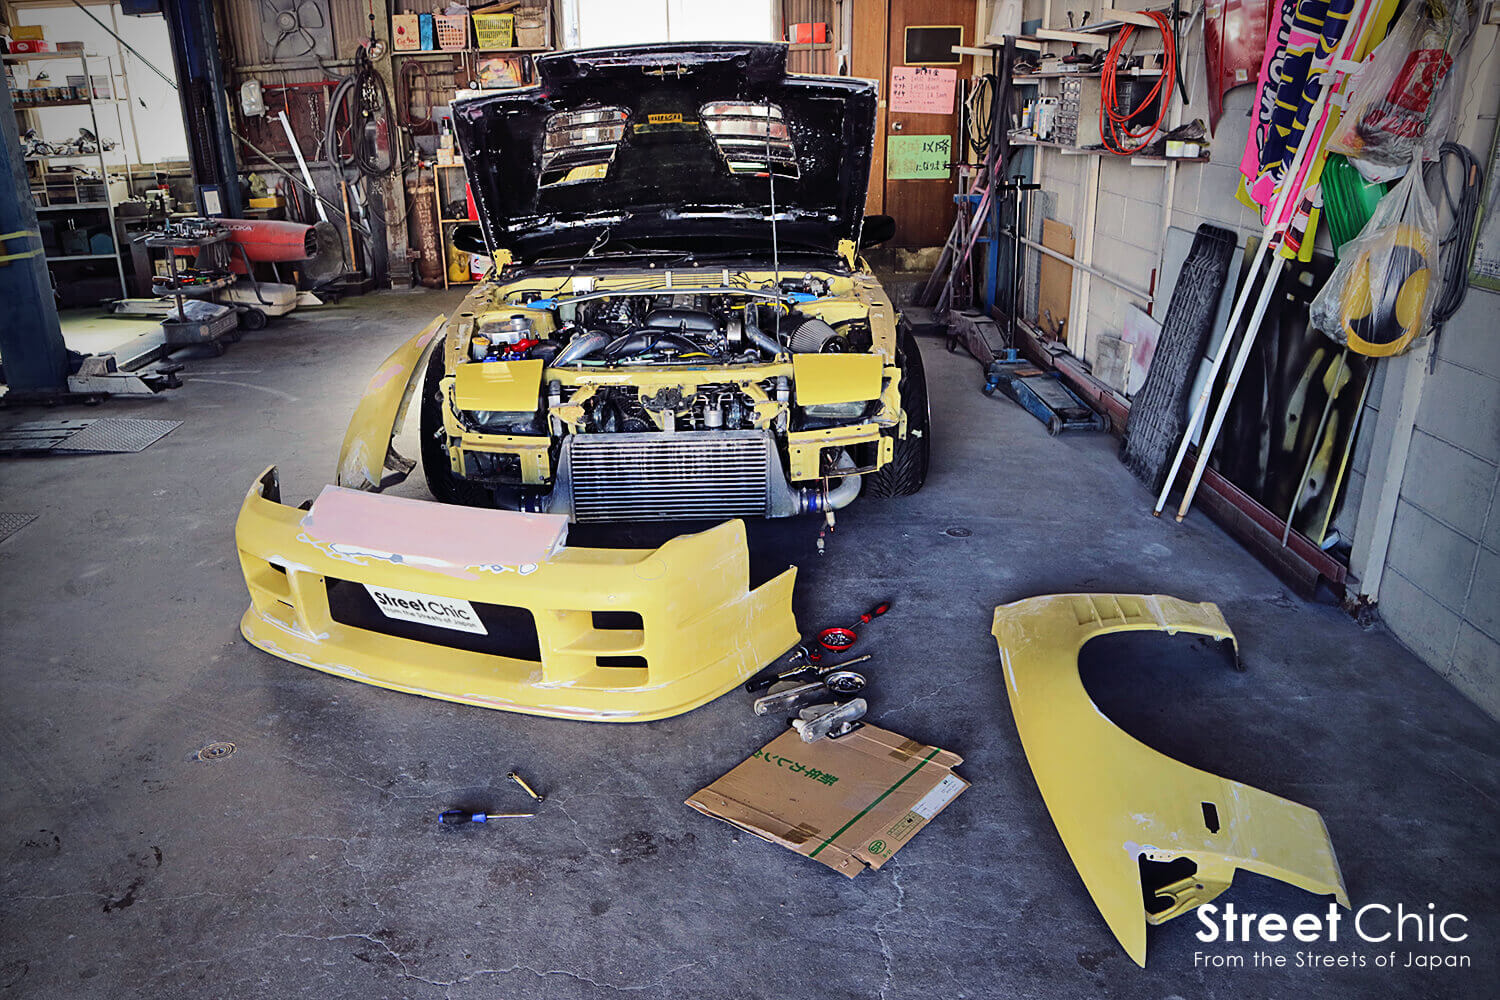
It’s going to take more than a couple of hours to get it done so make sure you have enough time to work on the project. My first day at the shop began at 10AM. I started by taking off the bumper and the fenders. If you’re not used to this process it may take you a while to get the hang of it. It may be worth practicing at home before you go to a garage. (The tools photographed here are my own, but you can rent them at the shop as well)

As I was removing the body kits, the owner Egawa marked several spots that needed to be sanded more with a marker for me, so I sanded those spots. Wet sanding is pretty rough work in the January cold, but thinking about how awesome my baby was going to look after it’s all done kept me excited. While I was busy doing that, the owner mixed paint for me. They have color codes for recent models but if it’s an older model, he will mix paint to match the color for you.
Lunchtime came around so I took a break and ate lunch at a nearby cafeteria. The garage is located in a industrial area full of factories but the neighborhood is pretty quiet and peaceful.
Then comes the primer surfacer
After the sanding is done, I started the priming process. I used primer surfacer in order to make the paint adhere better, as well as to level the surface. You really get a sense of how good (or bad) your sanding and filling preparations were when you apply primer surfacer, so it’s kind of a both fun and scary process. Surfacers are not too hard to apply so you should get the hang of it pretty quickly.

It may take a bit of practice to get the hang of using a spray gun. But of course, if you come to SELFIT you can ask Mr. Egawa for tips and advise. That’s how I was able to do it to a pretty satisfactory level even though I didn’t have much experience handling one. The lesson that I leaned was, make sure you pay attention to the speed so that you are not going too fast or slow when you are spraying along the surface.
Mask areas before painting
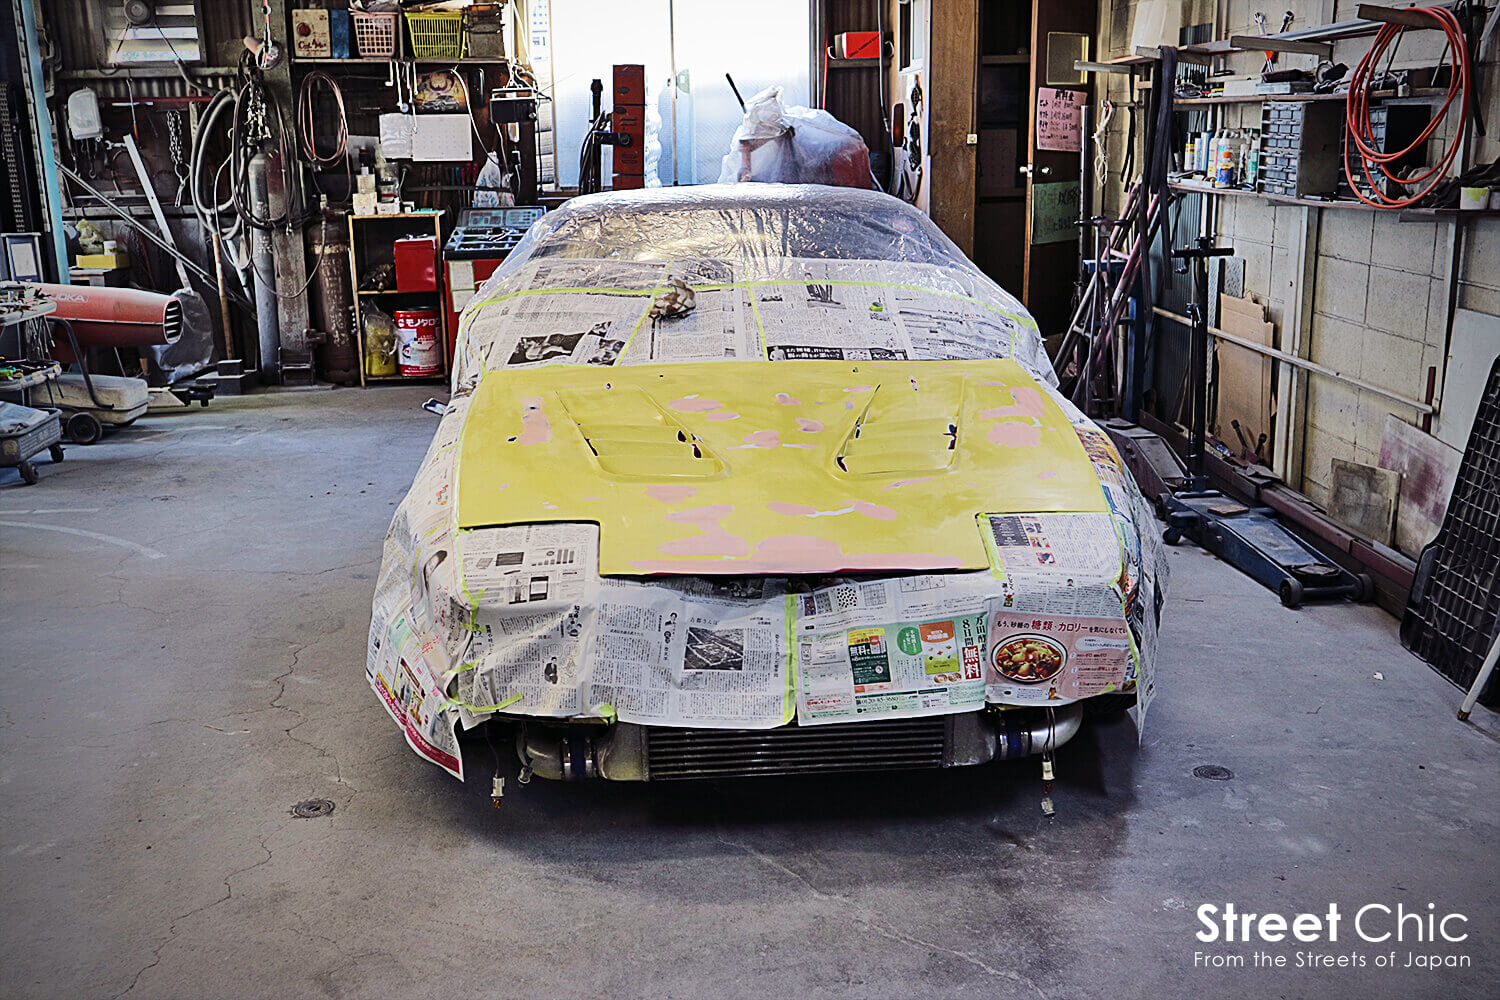
While I was covering the bumper with surfacer, the SELFIT owner was nice enough to do the masking work necessary for painting the hood for me. I was surprised because we are supposed to be doing most things by ourselves, but he says if he’s not busy he doesn’t mind helping out. The shop closes at 6PM and I was taking longer than I thought, so that was a huge time saver for me.
The hood is a pretty large surface, and as you can see in the photo, it has ducts which are hard to paint. One good way to get used to painting is to start with small, flat surfaces and try to get the hang of handling the spray gun, before moving on to big parts like the hood. When I painted the hood, I was too preoccupied with spraying the paint evenly across the surface that, after I was done, I realized there were unsprayed edges and places on the other side that show when I close the hood.
I guess you can’t expect your first attempt to be perfect.
It got pretty late. I had a reservation for tomorrow too, but I still had a lot of work to do, so I wished I had come in earlier this morning. I told him “I’ll be back tomorrow at 9 in the morning!” as I headed out. He gave me a skeptical look.
| Cost for Day 1 |
|---|
| 17,120 yen (w/tax) Includes: garage usage, sandpaper and surfacer rental fees |
![How I Painted My Nissan 180SX At SELFIT [Day 2]](https://en.streetchic.jp/wp-content/uploads/2017/01/self-paint9-900x600.jpg)
![Tokyo Auto Salon 2017 Report [Part 2]](https://en.streetchic.jp/wp-content/uploads/2017/01/IMG_0460-01-900x600.jpg)
Comments